Business Card

Thursday, June 22, 2023

SU! Creative Cardiology Team June “DSP” Projects Blog Hop


SU! Creative Cardiology Team June “DSP” Projects Blog Hop

Welcome to the Creative Card-iology Monthly Blog Hop

This month's theme is to make a card or project using 
any of the Designer Series Paper (DSP)
on sale with a 15% discount during the month of June.
 
I chose to use Misty Moonlight 
with the Countryside Designer Series Paper

My granddaughter is graduating 
from High School this week
and has a birthday in July.
For her birthday, I plan to fill this with
Stampin Up products.

Over the years I have made many of these, 
some a little different, 
and fill them with a Stamp Set, 
Stampin Seal, Dimensionals, Ribbon, Gems,
cards, etc. for Door Prize at Craft Shows.


HERE ARE THE SUPPLIES USED TO MAKE THIS CARD
  • Misty Moonlight Cardstock (CS) #153081
  • Countryside  Inn 12" x 12" Designer Series Paper #161467
  • Multipurpose Liquid Glue #110755
  • Silicone Craft Mat #127853
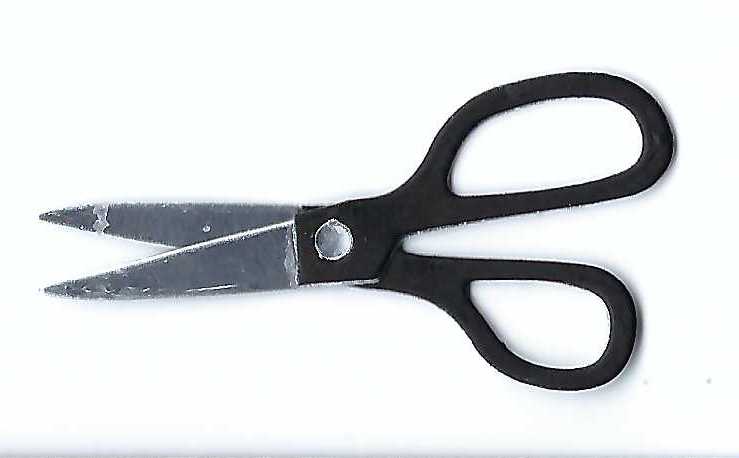
  • Paper Snips #103579
  • Bone Folder #102300
  • Stampin' Seal Adhesive #152813
  • Paper Trimmer #152392

HERE ARE THE INSTRUCTIONS I USED TO MAKE THIS PROJECT 
In this tutorial the name Seal refers to the use of the Stampin' Seal Adhesive.
  • Cut a piece of Misty Moonlight CS 11" x 6½" (Score at 2" on all 4 sides)
  • Burnish all of the score lines.
  • On the long ends, cut both score lines up to the horizontal score line on both ends, then add Multipurpose Liquid Glue to both ends to form a box.


  • Cut your 12" x 12" DSP in half horizontal at the 6" mark.
  • My pattern lined up perfectly and I glued the two pieces together, so I have a piece 6" x at least 19½".
  • Adhere the DSP around the box and overlap ½" at the the end.
  •  Cut 2 1" strips of Misty Moonlight, add them together and adhere them around the base of the basket.
  • Cut 2 1½" strips of Misty Moonlight, score them at ¾".  This is a little tricking to adhere.  Fold and burnish then open back up.  Adhere one side of the score to the front then fold over and adhere to the inside.
  • Cut 2 1" strips of Misty Moonlight. 
  • I used my retired corner rounder and punched all 4 corners of the strip 
  • Score at ½" leaving the top and bottom not scored.
  •  Using the bone folder, curl the strips and adhere to the top of the Purse.

 
Please feel free to leave me a comment and thanks for hopping by.

Click on the names below to visit our other team member's blogs and
see what amazing cards or projects they have created to inspire you!
 
Kim Thompson
Diana Buckingham (You are here)
 
Contact me with any questions!

Thursday, May 25, 2023

Creative Card-iology Team May 2023 Returning Favorite Colors Blog Hop

Welcome to the Creative Card-iology Monthly Blog Hop

This month's theme is to make a card or project using 
any of the 7 Returning colors listed below
BERRY BURST
BLUEBERRY BUSHEL
FRESH FREESIA
LEMON LIME TWIST
LOST LAGOON
MISTY MOONLIGHT 
PRETTY PEACOCK
 
I chose to use Pretty Peacock and Berry Burst
as I love these two colors.

The stamp set I used for this card
 is from the new 2023-2024 Annual Catalog
CRAFTING WITH YOU
 and comes bundled with matching dies.


HERE ARE THE SUPPLIES USED TO MAKE THIS CARD
  • Crafting With You Stamp Set #161219
  • Crafting With You Dies #161225 or bundle together and save 10%
  • Crafting With You Bundle #161226
  • Berry Burst Stampin' Pad #147143
  • Pretty Peacock Stampin' Pad #150083
  • Berry Burst Cardstock (CS) #144243
  • Pretty Peacock CS #150880
  • Basic White CS #159276
  • Basic Black CS #121045
  • Vellum CS #101856 
  • Silver Foil Specialty Paper #156457
  • Stampin' Cut and Emboss Machine #149653
  • Painted Texture 3D Embossing Folder #154317
  • Pretty Flowers Embossing Folder #155428 (Retired) or Substitute any Folder
  • Silicone Craft Mat #127853
  • Paper Snips #103579
  • Bone Folder #102300
  • Stampin' Dimensionals #104430 Mini's #144108
  • Berry Burst ⅜” Metallic-Edge Ribbon#145489 (Retired) 
    Substitute White Ribbon colored with Berry Burst Marker
  • Stampin' Seal Adhesive #152813
  • Fine Tip Glue Pen #138309
  • Take Your Pick Tool #144107
  • Paper Trimmer #152392

HERE ARE THE INSTRUCTIONS I USED TO MAKE THIS PROJECT 
In this tutorial the name Seal refers to the use of the Stampin' Seal Adhesive.
  • Cut a piece of Pretty Peacock CS " x 5½" (Score at 4¼"), then fold in have and burnish to form Card Base.
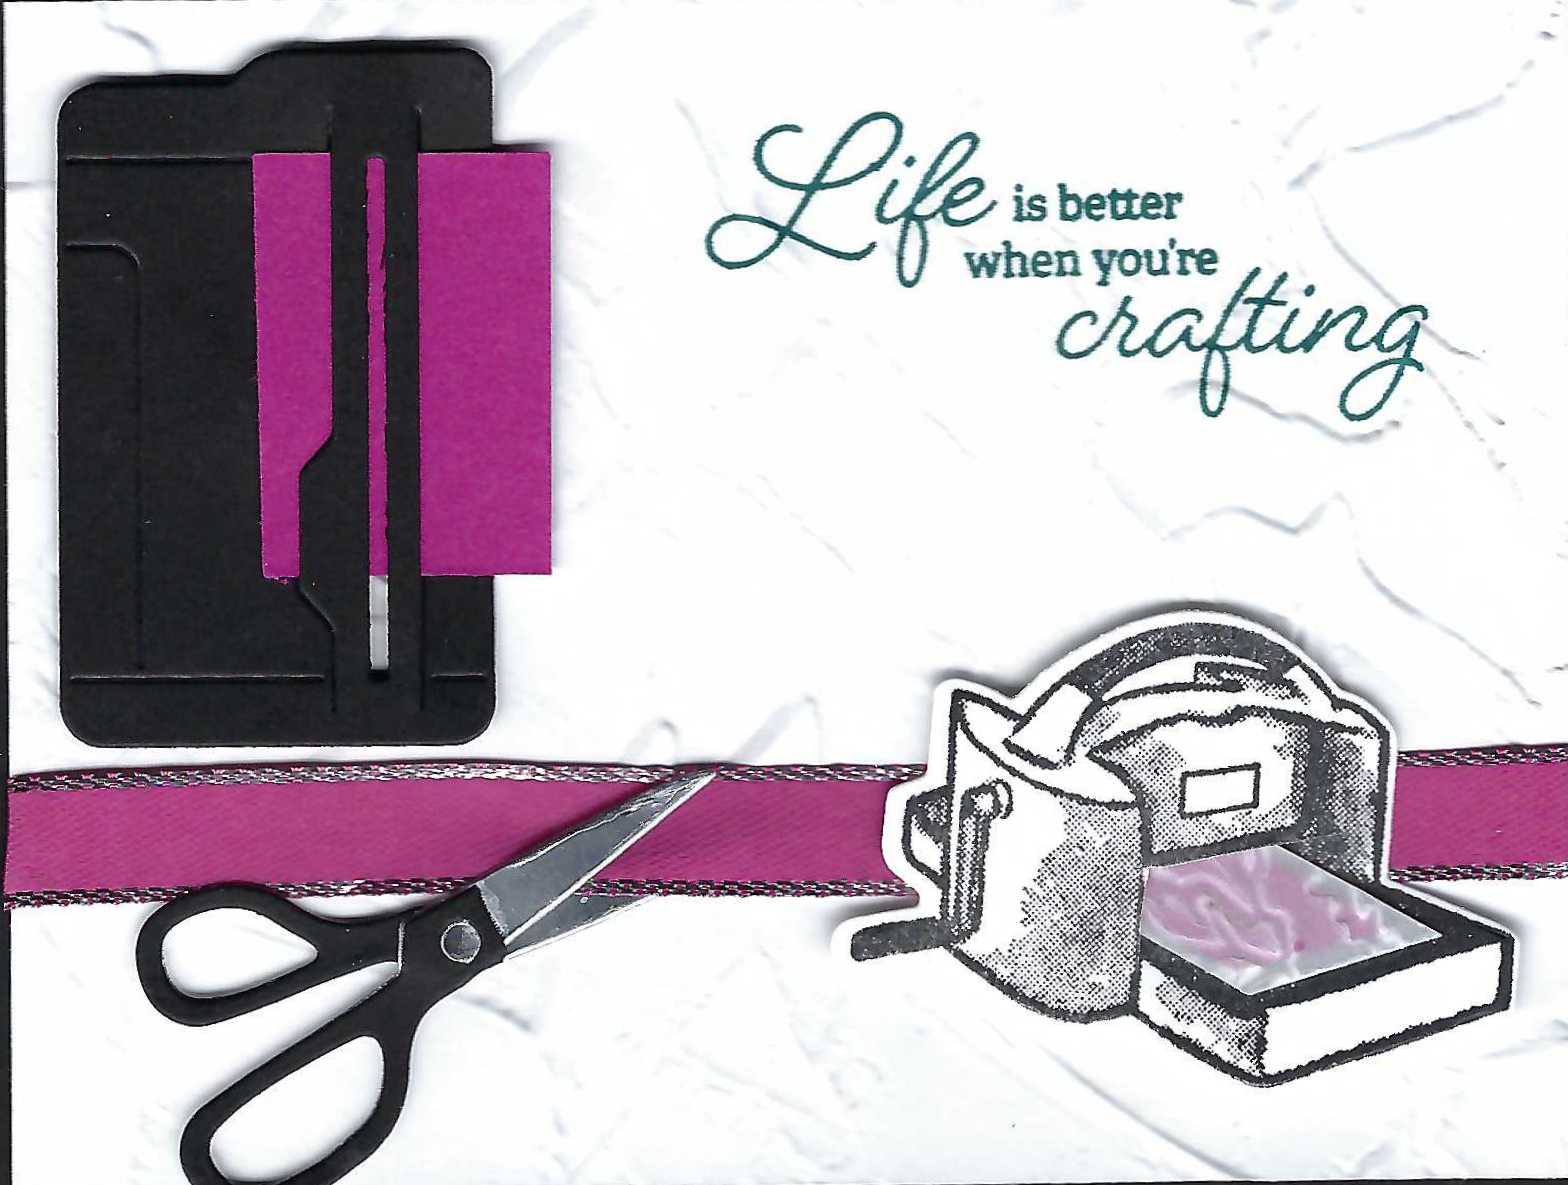
  • Cut a piece of Basic White 5¼" x 4". Stamp the greeting with Pretty Peacock Ink in the upper right side, then insert in Painted Texture 3D Embossing Folder and run thru the Stampin' Cut & Emboss machine.
  • Cut a piece of Basic White 2½" x 1¾”.  Using Memento Black Ink, stamp the Big Shot stamp, then using the matching die run it thru the Stampin' Cut and Emboss machine.
  • Cut a piece of Basic Black 2½" x 1¾”, then using the paper trimmer die, run it thru the Stampin' Cut & Emboss machine.
  • Cut a piece of Berry Burst 1" x 1⅜”,  then add adhesive and place it in the paper trimmer die piece.
  • Cut a piece of Vellum 2½" x 2½" and fold in half corner to corner to form a triangle.
  • Cut a piece of Berry Burst 3½" x 1¼"add adhesive to the back of the CS, then place inside the folded Vellum.
  • To make the mini embossing folder for the big shot die piece, run the vellum and Berry Burst piece thru the Stampin' Cut and Emboss machine, then cut as follows:
    Place the embossed piece with the fold at the bottom.  This will make 4 embossed pieces for the big shot piece.  Cut off the Berry Burst piece on the left side and that side will now be put in your paper trimmer and cut four
    ½" strips which become your mini embossing folders.
  • Take a blade and cut your mini big shot die piece on the black line where the plates goes thru and down the left side to the bottom on the base plate.
  • Line up the mini embossing folder over the big shot die cut.  Add adhesive to the bottom of the mini folder and trim if necessary.  Slide thru the cut line and adhere in place on the platform.
  • Cut a piece of Basic Black and Silver Foil 2½" x 1".  Using the Scissor die, run each of these thru the Stampin' Cut and Emboss machine. Save the tiny silver circle.
  • On the black piece, cut the handle pieces at the embossed mark.  
  •  Using the Fine Tip Glue Pen adhere the black handles over the Silver Foil.  Now place the tiny silver circle in the black piece.  Add a little adhesive where the scissors come together and open them slightly.
  • Place everything on the card to determine where to place the ribbon.  
  • Add adhesive to both ends of the ribbon and adhere each end to the back of the card.  Add dimensionals to the back of each of the die cuts. Make the scissors look like they are going to cut the card.
  • Add adhesive to the back of the white card front and adhere to the card base.
  • Add dimensionals to the trimmer piece, big shot and scissors and adhere to the card.
  • To put the final touches on the card, add a white matte dot for the embosser and a black matte dot for the blade on your trimmer die.
Please feel free to leave me a comment and thanks for hopping by.
Click on the names below to visit our other team member's blogs and
see what amazing cards or projects they have created to inspire you!
 
Kim Thompson
Diana Buckingham (You are here)
 
Contact me with any questions!