Business Card
Thursday, December 31, 2020
Dec 29, 2020 Card Class
Here are the 2 cards we made in class today
 |
| Card 1 |

Card 2
 |
| Here are my lovely ladies and their cards |
Dec 15, 2020 Card Class
Here are the 2 lovely cards we made in class today


 | |
| Envelope Card 1 |
 | |
| Card 2 - Front |
 |
| Card 2 Inside |
Dec 8, 2020 Team Swap
December 8. 2020 -Team Swap
Here is the card I made

Here are the cards I received

Angie Smith
Anne Lee
 |
| Doris Walker |

Jessica Brigden Card 1

Jessica Brigden Card 2

Kim Thompson

Mary Ann Lutz


Mary Russell-Grey

Pat Hand
Thursday, December 24, 2020
Creative Cardiology Team December Farewell Favorites Blog Hop
 |
Welcome to the Creative
Card-iology Monthly Blog Hop
This month's theme is time to say Good Bye to some Favorite products
There are several items from the Aug - Dec Mini Catalog that are retiring
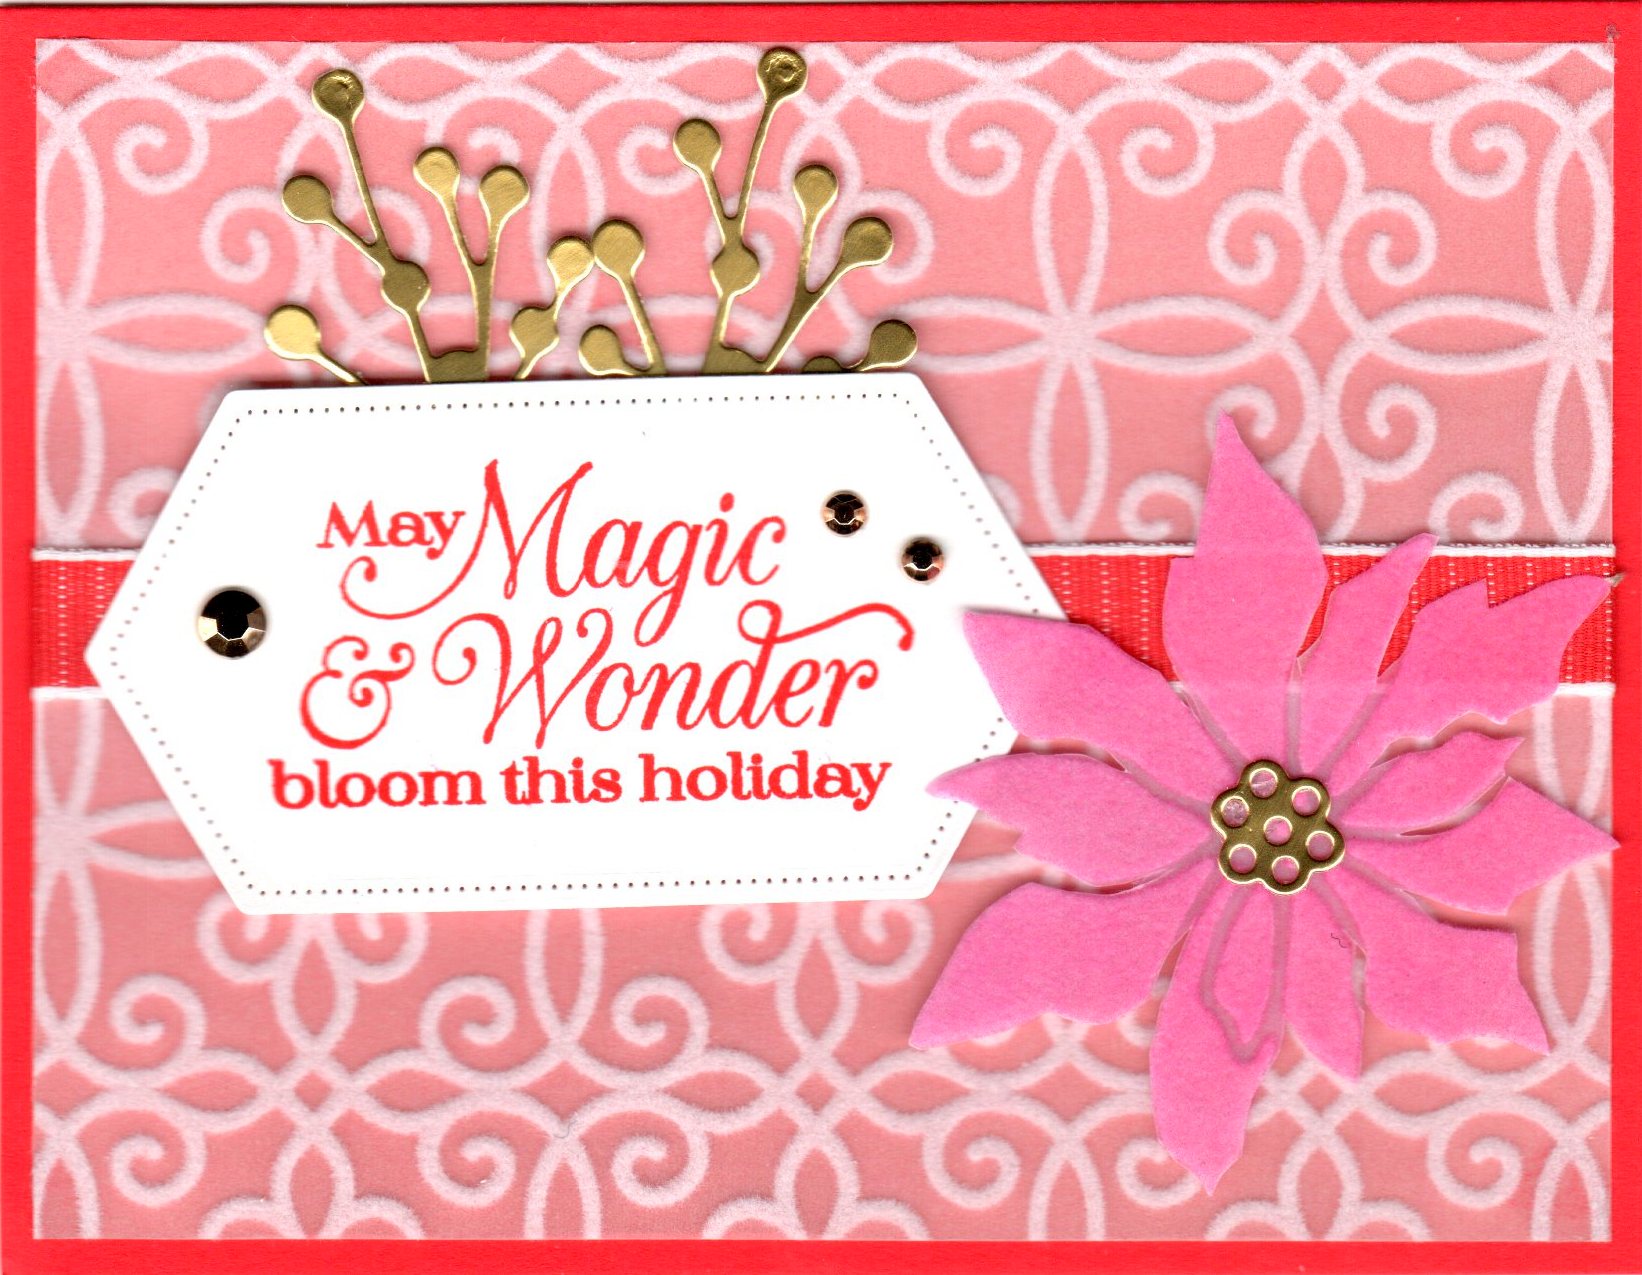
For this project I choose to use the beautiful Plush Poinsettia Specialty Paper

HERE ARE THE SUPPLIES I USED TO MAKE THIS CARD
Poppy Parade 8½" x 11"Cardstock - 119793
Whisper White 8½" x 11"Cardstock - 400730
Gold Foil Sheets - 132622
Plush Poinsettia Specialty Paper -153486 Retiring
Poinsettia Petals Bundle (save 10%) - 155148
(The Bundle is retiring but the Stamp Set and Dies will remain but sold separately)
Stitched Nested Labels Dies - 149638
Poppy Parade Stampin' Ink Pad - 147050
Shaded Spruce Stampin' Ink Pad - 147088
Poppy Parade ½" Textured Weave Ribbon - 147813
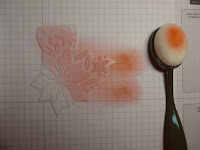
Blending Brushes - 153611
Mini
Stampin' Dimensionals - 144108
Stampin'
Seal -152813
Mini Glue Dots - 103686
Paper
Snips - 103579
Bone
Folder - 102300
Paper
Trimmer - 152392
Beaded Pearls - 153534
Beaded Pearls - 153534
Simple
Shammy - 147042
Silicone
Craft Sheet - 127853
Take Your Pick - 144107
Gilded Gems - 152478
HERE ARE THE INSTRUCTIONS I USED TO MAKE THIS PROJECT
In this tutorial the
name Seal is referring to the use of the new Stampin' Seal
Cut a piece of Poppy Parade CS 8½" x 5½" - score at 4¼"
Fold CS in half and score with Bone Folder
Cut piece of Plush Poinsettia Specialty Paper 5¼" x 4"
Add ribbon across the front of the card and and tape the tails to the back
Cut a piece of Whisper White 4" x 3½" and Stamp Greeting
Using the Stitched Nested Label die, run your greeting thru the Stampin' Cut & Emboss Machine
Add Dimensionals to the back and adhere to the card
Cut a section of the Plush Poinsettia Specialty Paper containing a Poinsettia

Fussy cut the poinsettia, add a dimensional to the back and adhere to the card

Using a scrap of Gold Foil, die cut 2 flower sprays and the poinsettia center buds
Using glue dots adhere the flower sprays behind the greeting
and the flower buds to the poinsettia
Add Gilded Gems to put the final embellishments on the cad.
Hope you enjoyed this tutorial!
Click on the names below to visit the other team member's blogs and
see what amazing projects they have created to inspire you!
Please feel free to leave me a comment and thanks for stopping by.
see what amazing projects they have created to inspire you!
Please feel free to leave me a comment and thanks for stopping by.
Bonnie Mountford
Kim Thompson
Diana Buckingham (You are here)
Kim Thompson
Diana Buckingham (You are here)
Thursday, December 3, 2020
Dec 1, 2020 Card Class
COVID-19 has changed all our lives this year.
It felt wonderful to finally hold my first class since March 3,2020
These cards were made with the CURVY CELEBRATIONS
special bundle available only until January 4, 2021
Curvy Christmas Stamp Set
Quite Curvy Stamp Set
Curvy Dies
Classic Christmas 6" x 6" 48 sheets of Designer Series Paper
Here are the cards that were made in my class
 | ||||
| Card 01 Front |
Whisper White Cardstock
Real Red Cardstock
6" x 6" Classic Christmas Designer Series Paper
Curvy Christmas Stamp Set
Quite Curvy Stamp Set
Real Red Classic Ink
Garden Green Classic Ink
Memento Black Ink
Real Red and Garden Green Markers
Curvy Dies
Stitched Shapes Dies
Gilded Gems
 |
| Card 01 Opened |
 | ||||
| Alternate Card Front |
 |
| Alternate Card Opened |
 |
| Card 02 Front |
Shaded Spruce Card Stock
Whisper White Cardstock
6" x 6"Classic Christmas Designer Series Paper
Cherry Cobbler Classic Ink
Shaded Spruce Classic Ink
Crumb Cake Classic Ink
Gray Granite Classic Ink
Cherry Cobbler Marker
Curvy Dies
Cherry Cobbler Bakers Twine
 |
| Card 02 Inside |
Thursday, November 26, 2020
Creative Card-iology Team November Curvy Celebration Blog Hop

Welcome to the Creative
Card-iology Monthly Blog Hop
This month's theme is the Curvy Celebration Suite.
Love, love, love this Suite!


HERE ARE THE SUPPLIES I USED TO MAKE THIS CURVY CARD
Whisper White 8½" x 11" Cardstock - 400730
Real Red 8½" x 11" Cardstock - 102482
'Tis Season 6" x 6" Designers Series Paper – 153489
Curvy Christmas Stamp Set – 155364
Quite Curvy Stamp Set – 154430
Curvy Dies – 154319
Real Red Classic Ink – 147084
Garden Green Classic Ink – 147089
Memento Black Ink – 132708
Clear Block A – 118487
Clear Block B – 117147
Clear Block C – 118486
Clear Block D – 1118485
Clear Block H – 118490
Stitched Shapes Framelits – Dies 145372
Stamparatus – 146276
Paper Snips – 103579
Mini Stampin' Dimensionals – 144108
Stampin' Seal – 152813
Bone Folder – 102300
Stampin' Trimmer – 152392
Simply Scored Scoring Tool – 122334
Simple Shammy – 147042
Silicone Craft Sheet – 127853
Take Your Pick – 144107
Take Your Pick Die Brush Tip – 149655
Stampin' Cut & Emboss Machine – 149653
Champagne Rhinestone Basic Jewels #151193
CUTTING INSTRUCTIONS
Cut the following Whisper White pieces - 8½" x 5½", 5¼" x 4", 5½" x 1⅜", 2" x 2⅞"
Cut the following Real Red - 5¼" x 4", 5¼" x 1⅞" (needs 2), 3¼" x 2¼"
Cut the DSP – 5" x 1⅝" (need 2)
HERE ARE THE INSTRUCTIONS I USED TO MAKE THIS PROJECT
In this tutorial the
name Seal is referring to the use of the new Stampin' Seal
On the 5½" x 1⅜" Very Vanilla piece, stamp the Swag & stamp the Bow.
Using the Stampin' Cut & Emboss Machine, cut the following:
Very Vanilla – 5¼" x 4" the Curvy Die; 2" x 2⅞" the Oval, also cut the Swag
Real Red – 3¼" x 2¼" the Oval,
Fuzzy Cut the ribbon
Now you are ready to assemble.
Fold the card base in half so you can see the other score line on top.
Then fold back on the other fold line.
Use you bone folder and press the score line a few times.
Now open the card and lay it flat with the fold line on the left side.
Seal both of the red pieces on the 2 rectangles of the card base.
Seal both of the DSP pieces on the Red rectangles
Seal the large Very Vanilla curvy piece to the red cardstock, flush at the left side
so no red is showing.
Stamp Merry Christmas on your Oval centered but slightly lowered.
Seal the Very Vanilla oval to the Real Red oval.
Add a dimensional to the back of the ribbon and place it on the card.
Color the Swag with either the Real Red and Garden Green Markers or with the Stampin Blends.
Turn the oval over and lay it centered on the card.
Then add 3 or 4 dimensionals to the left side only and adhere to the card.
Close the card and put a light pencil mark at the end of the oval on the White cardstock.
Open the card and stamp your inside greeting, making sure it is inside the pencil mark.
Erase the pencil mark, and stamp the the greenery and the stars.
To add the final touches, add the Champagne Rhinestones to your card.
Here is another card I made swapping out the DSP


I hope you enjoyed this tutorial!
I can't wait to see what everybody made!
Click on the names below to visit the other team member's blogs and
see what amazing projects they have created to inspire you!
Please feel free to leave me a comment and thanks for stopping by.
see what amazing projects they have created to inspire you!
Please feel free to leave me a comment and thanks for stopping by.
Subscribe to:
Posts (Atom)