Our Theme this month is about Sale-A-Bration
In this tutorial, I have used 3 of the Sale-A-Bration FREE items
First Item is this adorable Stamp Set called "Counting Sheep"
Second Item is the "Sheep Dies"
(Fence, 3 different Sheep, Party Hat, Balloon, Clouds, Flag and a Star)
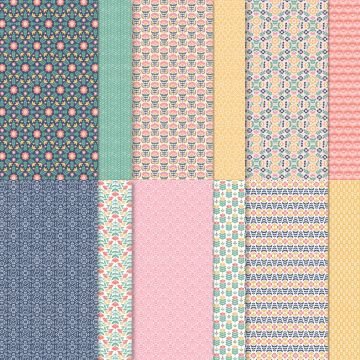
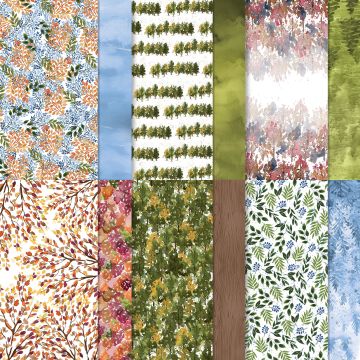
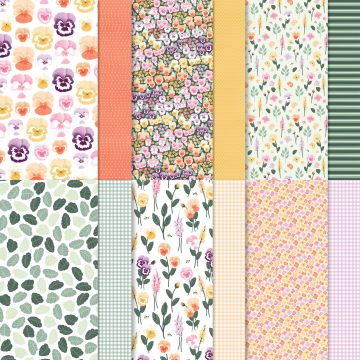
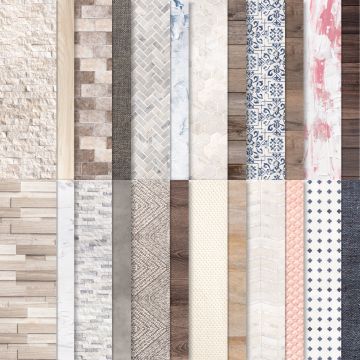
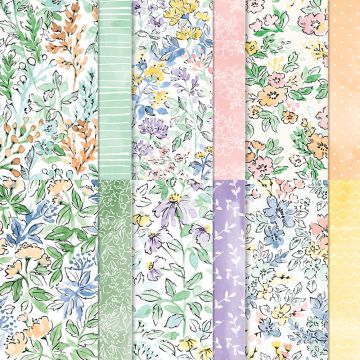
Third item is "Be Dazzling Specialty Paper"

HERE ARE THE SUPPLIES I USED TO MAKE THIS CARD
Soft Suede Cardstock (CS) - 115318
Balmy Blue Cardstock - 146982
Basic White Cardstock - 159276
Daffodil Delight Cardstock - 119683
Early Espresso - Cardstock - 119686
Be Dazzling Specialty Paper 6" x 6" Sale-A-Bration (SAB) 156629 - FREE
County Sheep Stamp Set - SAB 156591 - FREE
Sheep Dies - SAB 156600 - FREE
Stitched So Sweetly - 151690
Tuxedo Black Memento Ink - 132708
Smokey Slate Classic Stampin' Pad - 147133
Blushing Bride Classic Stampin' Pad -147100
Night of Navy Classic Stampin' Pad - 147110
Poppy Parade Classic Stampin' Pad - 147050
Early Espresso Classic Stampin' Pad - 147114
Water Painters - 151298
Stampin Cut & Emboss Machine - 149653
Clear Block A - 118487
Clear Block D - 118485
Stampin' Seal - 152813
Stampin' Dimensionals - 104430
Black Stampin' Dimensionals Combo Pack - 150893
Tombow Multipurpose Liquid Glue - 110755
Mini Glue Dots - 103683
Paper Snips - 103579
Take Your Pick Tool - 144107
Bone Folder - 102300
Paper Trimmer –152392
Simply Shammy –147042
Silicone Craft Sheet –127853
HERE ARE THE INSTRUCTIONS I USED TO MAKE THIS CARD
In this tutorial the
name Seal is referring to the use of the new Stampin' Seal
- Cut a piece of Soft Suede Cardstock 10" x 4¼"
- Score at 5½" and 7¾'
- Burnish the score lines
- Cut a Piece of Balmy Blue 5¼" x 4"
- Adhere the Balmy Blue to the Soft Suede
- Open the Soft Suede piece with the Balmy Blue on the top
- Cut the Be Dazzling Specialty Paper 4¼" x 2¼"
- Adhere to the bottom rectangle

- Cut a piece of Early Espresso 1½" x 6"
- Using the Sheep Dies, cut 2 fence piece with the Stampin Cut & Emboss Machine
- Cut the Post off of both edged

- Use a small piece of tape and tape the 2 fence pieces together

- Lay them face up on grid paper and adhere 3 fence pieces, one on each end and one in the center so fence is now 4¼" wide

- Apply Tombow Liquid Glue to the bottom rail of the fence and adhere to the top of the DSP

- Cut a piece of Basic White 5¼" x 4"
- Using Black Memento Ink, stamp the 3 sheep from the Country Sheep Stamp Set
- Using the Sheep Dies, cut the 3 Sheep, the balloon, the 2 clouds and the hat with the Stampin Cut & Emboss Machine
- Using a small scrap of Daffodil Delight, cut the star with the Stampin' Cut & Emboss Machine
- Using the Water Painter and the Smokey Slate, Brushing Bride and Night of Navy inks, color the 3 sheep
- Using the Water Painter and the Poppy Parade, Early Espresso and Night of Navy inks, color the hat and balloon
- Place 2 sheep behind the fence for placement, add small black dimensionals to the back of the fence and add the sheep, then adhere to the fence
- Place the last sheep on top of the fence for placement, add small black dimensionals to the front of fence and to the bottom back of the sheet, then adhere to card
- Add a glue dot to the back of the foot of the sheep on the front and add the balloon
- Add a glue dot to the back of the hat and add the one of the sheep
- Stamp your greeting on a small Basic White scrap
- Use the small die from from the Stitched So Sweetly dies
- Using the Light Balmy Blue Stampin' Blends, color the outside of the greeting
- Add 2 dimensionals to the back of the greeting and adhere to the card
- Seal the 2 clouds near the top on the Balmy Blue piece
- Add a dimensional to the back of the sun and adhere to the card
- Cut a piece of Basic White 8½" x 5½", score at 4¼" to form the card base

- Seal the back of the Soft Suede and adhere to the card base
 Hope you enjoyed this tutorial!Click on the names below to visit the other team member's blogs and
see what amazing cards they have created to inspire you!
Please feel free to leave me a comment and thanks for stopping by.Diana Buckingham (You are here)