Business Card

Thursday, March 28, 2024

Welcome to the Creative Card-iology Monthly Blog Hop
This month we are sharing cards or project 
made using any Online Exclusive items

I'm using Fluffiest Friends
one of many Online Exclusive 
only found on the Stampin UP! website

Here is the card I made using the 
the Fluffiest Friends Bundle
a stamp Set and Dies packaged together
sold with a 10% Discount.


HERE ARE THE SUPPLIES USED TO MAKE THIS CARD

  • Basic White Cardstock (CS) #159276
  • Granny Apple Green CS #146990
  • Soft Sea Foam CS #146988
  • Memento Black Ink #137708
  • 12" x 12" A Little Latte Designer Series Paper (DSP) #163453
  • Fluffiest Friends Bundle #162850
    • Fluffiest Friends Stamp Set #162845
    • Fluffiest Friends Dies # 162849
  • Something Fancy Stamp Set #160416
  • Bone Folder #102300
  • Stampin' Blends Copper Clay #161662
  • Stampin' Blends Smoky Slate #154904
  • Stampin' Blends Real Red #154899
  • Stampin' Blends Lemon Lolly #161673
  • Stampin' Dimensionals  #104430
  • Stampin' Seal #103683
  • Silicone Craft Sheet #127853
  • Stampin' Trimmer # 152392
  • Stampin' Cut & Emboss Machine $#159653                                     


HERE ARE THE INSTRUCTIONS I USED TO MAKE THIS PROJECT 
In this tutorial the name Seal refers to the use of the Stampin' Seal Adhesive.
  • Cut Basic White CS 11" x 4¼", score at 5¼" then fold in half to make card base. 
  • Cut Basic White CS 3" x 3" and stamp the bear with Memento black Ink.
  • Color the bear with the Stampin' Blends.
  • Die cut the bear with the bear die in the Fluffiest Friends Dies.


  • Die cut the hive using the "A Little Latte Designer Series Paper (DSP)"
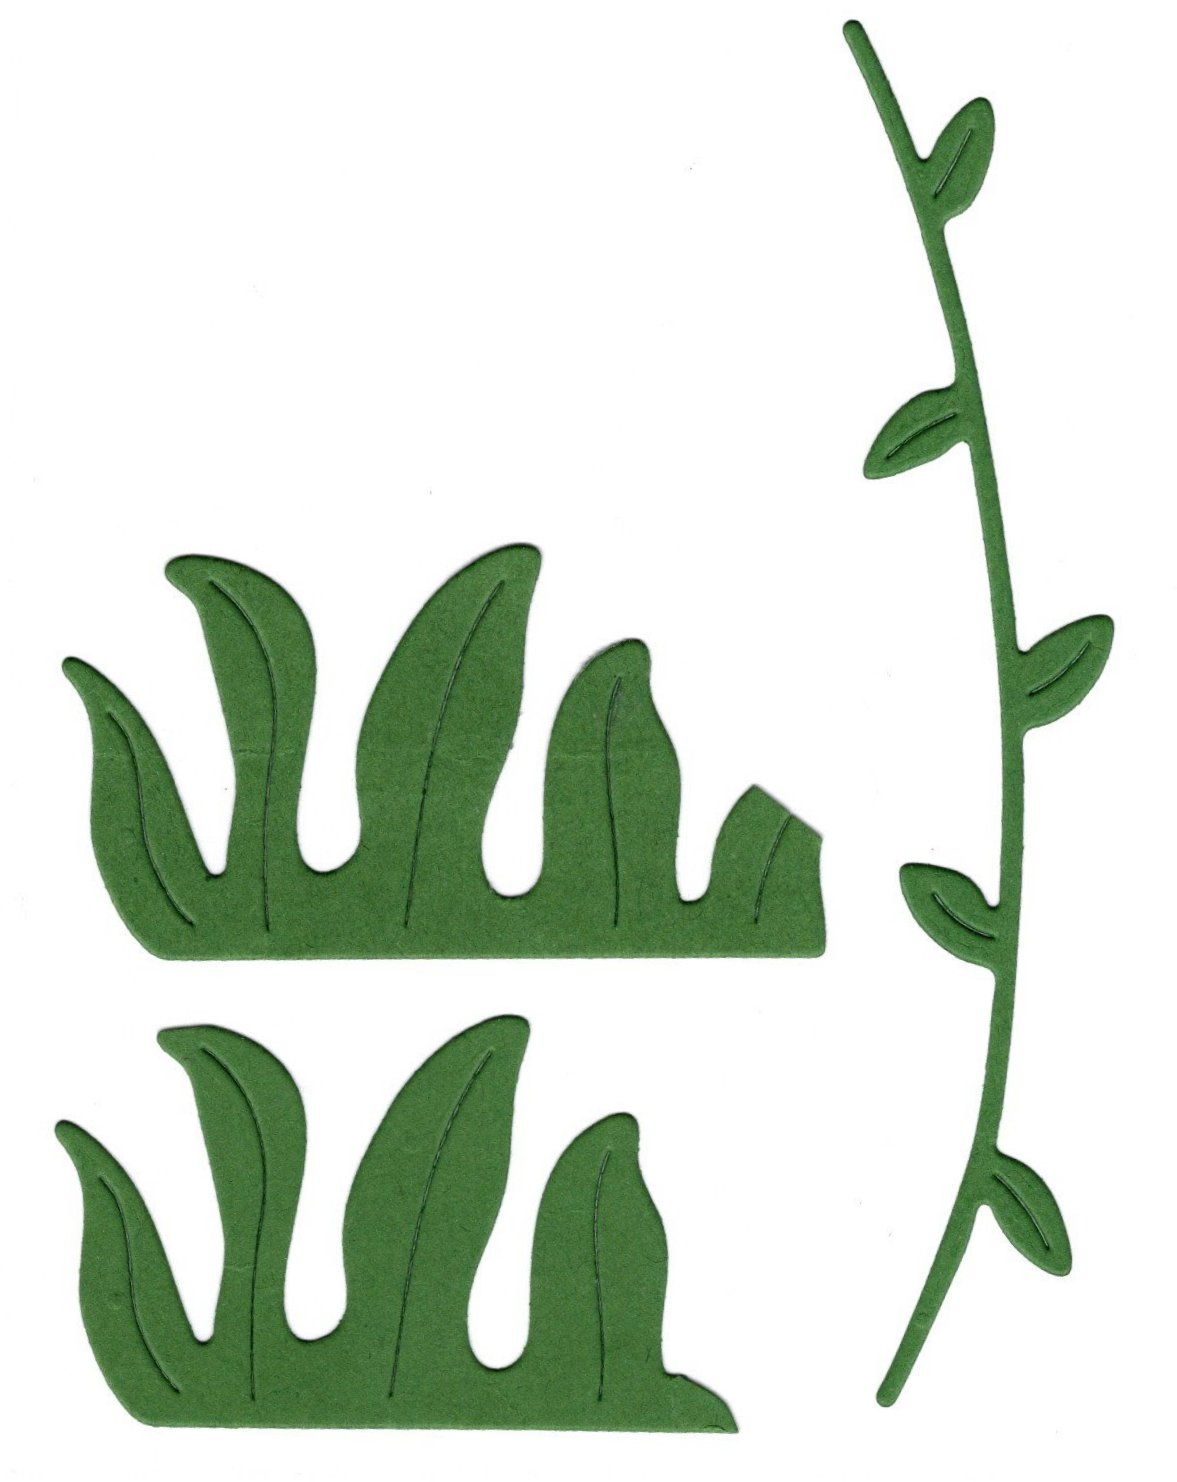
  • Using Granny Apple Green CS, die Cut 3 grass pieces.
  • Adhere the grass on the back of the DSP along the bottom of the hive.


  • Cut a piece of Soft Seafoam 3¾" x 5" and adhere to the card base.
  • Add dimensionals to the back of the DSP and adhere to the card.
  • Add a dimensional to the back of the cutout bears head then add a little adhesive to the bottom of the bear and tuck the bear slightly behind the grass.

  • Stamp the 3 small bee's with memento black on the Soft Sea Form above the bear's head and color the bee with Lemon Lolly.
  • Stamp the greeting on a scrap of Basic White CS with the Copper Clay ink and die cut using the Stylish Dies.
  • Add dimensionals to the back of the greeting and adhere to the card.
  • To finalize the card I put Gold Glitter Enamel Dots on the bee's.


Please feel free to leave me a comment and thanks for hopping by.
Click on the names below to visit our other team member's blogs and see what amazing cards or projects they have created to inspire you!

 
Diana Buckingham (You are here) 

Contact me with any questions!

Thursday, February 22, 2024

Creative Card-iology Team February "Sale A Bration Excitement" Projects Blog Hop


Welcome to the Creative Card-iology Monthly Blog Hop
This month we are sharing cards or project again from SALE-A-BRATION!
 
Time is running out as SALE-A-BRATION (SAB) will end on February 29th!

CLICK HERE to go to see what merchandise you can earn FREE
with any order of $50 or $100 before tax and shipping from any current catalogs.

Here is the card I made using the 
Jungle Pals Stamp Set and Dies 
that I got FREE with a $100 order.

HERE ARE THE SUPPLIES USED TO MAKE THIS CARD
  • Garden Green Cardstock (CS) #102584
  • Basic White CS #159276
  • Pecan Pie CS #161717
  • Memento Black  Ink #137708
  • Pecan Pie Ink #161665
  • jungle Pals Stamp Set #162950 FREE
  • Jungle Pals Dies #162973 FREE
  • Softly Sophisticated #162940 FREE
  • Bone Folder #102300
  • Stampin' Blends Bronze #154922
  • Stampin' Blends Light (Lt) & Dark Pumpkin Pie #154897
  • Stampin' Blends Light & Dark (Dk) Smoky Slate #154904
  • Stampin' Blends Light Azure Afternoon #161672
  • Stampin' Blends Light Real Red #154899
  • Stampin' Blends Light Lemon Lolly #161673
  • Stampin' Blends Dark Shaded Spruce #154903
  • Stampin' Blends Light Basic Black #154843
  • Brushed Brass Butterflies158136
  • Rhinestone Basic Jewels #144220
  • Stampin' Dimensionals  #104430
  • Mini Glue Dots #103683
  • Stampin' Seal #103683
  • Silicone Craft Sheet #127853
  • Stampin' Trimmer # 152392
  • Stampin' Cut & Emboss Machine $#159653                                     


HERE ARE THE INSTRUCTIONS I USED TO MAKE THIS PROJECT 
In this tutorial the name Seal refers to the use of the Stampin' Seal Adhesive.
  • Cut Garden Green CS 8½" x 5½", score at 4¼" then fold in half to make card base. 
  • Cut Basic White CS 5¼" x 4" (need 2 - Card Front and Inside)
  • Cut Basic White CS 2" strip for animals
  • Stamp the animals  from the Jungle Pals (FREE SAB reward) using Memento Black on the Basic White 2" strip
  • Color the Sloth using Bronze Stampin' Blends, then using SU800 color over the face to lighten it
  • Color the Lemur using both Lt and Dk Smoky Slate Stampin' Blends
  • Color the Toucan using the Lt Real Red, Dk Lemon Lolly, Dk Shaded Spruce and the Lt Basic Black Stampin' Blends


  • Using the Stampin' Cut and Emboss Machine, die cut the animals with the Jungle Pals dies (FREE SAB reward)
  • Using some of the other dies in the set, Die cut the tree with the Pecan Pie CS, the branch and grass with the Garden Green CS
  • Adhere the Basic White CS to the front of the card
       
  • Cut the top branch off the tree then adhere the tree to Basic White CS
  • Adhere the Green branch to the top, then add dimensionals to the 2 grass pieces to the front of the card.
  • Add dimensionals to the back of the animals, then add the Sloth on the branch, and the Lemur and Toucan on each of the limbs.
  • Using the Pecan Pie ink, stamp the greeting from the Softly Sophisticated (FREE SAB reward) stamp set on the card front
  • To add the final touches, add rhinestones to all the eyes and a butterfly in the grass.
Here is the final card

Please feel free to leave me a comment and thanks for hopping by.
Click on the names below to visit our other team member's blogs and see what amazing cards or projects they have created to inspire you!
Diana Buckingham (You are here) 

Would you like to get a discount on your Stampin' Up products?
CONSIDER THIS
During SALE-A-BRATION there is an amazing join promotion going on.
For $99 you will receive $125 in products, free shipping, plus
option 1 - your choice of an additional $30 for a total of $155 or
option 2 - a Glass Mat with a silicon tray & cleaning cloth valued at $60.

And SALE-A-BRATION has amazing items you can choose
for FREE based on the size of your order.

I'm blessed to be part of this amazing team!
Hurry, this offer ends on February 29, 2024

Thursday, January 25, 2024

Creative Card-iology Team January "Sale A Bration Excitement" Projects Blog Hop

Creative Card-iology Team December "Sale A Bration Excitement" Projects Blog Hop


Welcome to the Creative Card-iology Monthly Blog Hop
This month we are sharing cards or project from
SALE-A-BRATION
 
This is always one of my favorites as you benefit from SALE-A-BRATION.
During the months of January and February you can earn FREE merchandise
with any order of $50 or $100 before tax and shipping from any current catalog.
 
CLICK HERE to take you to my website 
to see what the Sale-A-Bration items you can earn.

 Here is the Calendar Card I made


HERE ARE THE SUPPLIES USED TO MAKE THIS CALENDAR CARD
  • Calypso Coral Cardstock (CS) #122925 or Pool Party CS #122924
  • Basic White CS #159276
  • Crumb Cake CS #12953
  • Old Olive CS #100702
  • 12" x 12" Softly Stippled Designers Series Paper (DSP) #161986
  • Bone Folder #102300
  • Stampin Dimensionals  #104430
  • Mini Glue Dots #103683
  • Stampin' Seal #103683
  • Silicone Craft Sheet #127853
  • Painted Lavender Dies #162596
  • Linen Tread #104199
  • Stampin' Trimmer # 152392
  • Stampin' Cut & Emboss Machine $#159653
  •  I purchased the calendars from Vippies.com                                        


HERE ARE THE INSTRUCTIONS I USED TO MAKE THIS PROJECT 
In this tutorial the name Seal refers to the use of the Stampin' Seal Adhesive.
  • Cut Calypso Coral or Pool Party 8¼" x 5½".
  • Score on the long side at 2", 3", 5¼" and 6¼"
  • Follow the directions below to complete each panel.
  • Cut 2 pieces of Basic White 5¼" x 1" and adhere to the outer panels.
  • Cut 2 pieces of Basic White 5¼" x ¾" and adhere to the thin panels.
  • Cut Basic White  5¼" x 2" and adhesive to the center of the card.  
  • Cut 2 DSP 5" x 1½" and adhere on the white of the outer panels.
  • Cut coordinating DSP 5" x 1¾" and adhere on the white center panel.
  • Cut Crumb Cake or Old Olive 5" x 2".
  • Using the long perennial die from the Painted Lavender Dies, cut 2 flowers from the Crumb Cake or Old Olive DSP, then add adhesive to each pair and adhere to the outer panels.
  • Make 2 bows using the Linen Thread, add a glue dot to the back of each and adhere to the perennial flowers on the outer panels. 
  • Cut Calypso Coral or Pool Party 3¼" x 2½".  Add adhesive to the back of the calendar and adhere to the card stock.
  • To finish the card, add dimensionals to the back of the calendar and adhere to the front of the card.

    Here are the finished cards

     Here is another card I made using the same supplies


Please feel free to leave me a comment and thanks for hopping by.
Click on the names below to visit our other team member's blogs and see what amazing cards or projects they have created to inspire you!
Diana Buckingham (You are here)
 
Would you like to get a discount on your Stampin' Up products?
CONSIDER THIS
During SALE-A-BRATION there is an amazing promotion going on.
For $99 you will receive $125 in products, free shipping, plus
option 1 - your choice of an additional $30 for a total of $155 or
option 2 - a Glass Mat with a silicon tray & cleaning cloth valued at $60.

I'm blessed to be part of this amazing team!
Hurry, this offer ends on February 29, 2024
 
Contact me with any questions!