
 |
Welcome to the Creative
Card-iology Monthly Blog Hop
This month's theme is time to say Good Bye to some Favorite products
There are several items from the Aug - Dec Mini Catalog that are retiring
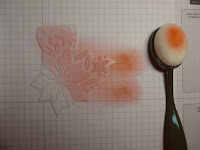
For this project I choose to use the beautiful Plush Poinsettia Specialty Paper

HERE ARE THE SUPPLIES I USED TO MAKE THIS CARD
Poppy Parade 8½" x 11"Cardstock - 119793
Whisper White 8½" x 11"Cardstock - 400730
Gold Foil Sheets - 132622
Plush Poinsettia Specialty Paper -153486 Retiring
Poinsettia Petals Bundle (save 10%) - 155148
(The Bundle is retiring but the Stamp Set and Dies will remain but sold separately)
Stitched Nested Labels Dies - 149638
Poppy Parade Stampin' Ink Pad - 147050
Shaded Spruce Stampin' Ink Pad - 147088
Poppy Parade ½" Textured Weave Ribbon - 147813
Blending Brushes - 153611
Mini
Stampin' Dimensionals - 144108
Stampin'
Seal -152813
Mini Glue Dots - 103686
Paper
Snips - 103579
Bone
Folder - 102300
Paper
Trimmer - 152392
Beaded Pearls - 153534
Beaded Pearls - 153534
Simple
Shammy - 147042
Silicone
Craft Sheet - 127853
Take Your Pick - 144107
Gilded Gems - 152478
HERE ARE THE INSTRUCTIONS I USED TO MAKE THIS PROJECT
In this tutorial the
name Seal is referring to the use of the new Stampin' Seal
Cut a piece of Poppy Parade CS 8½" x 5½" - score at 4¼"
Fold CS in half and score with Bone Folder
Cut piece of Plush Poinsettia Specialty Paper 5¼" x 4"
Add ribbon across the front of the card and and tape the tails to the back
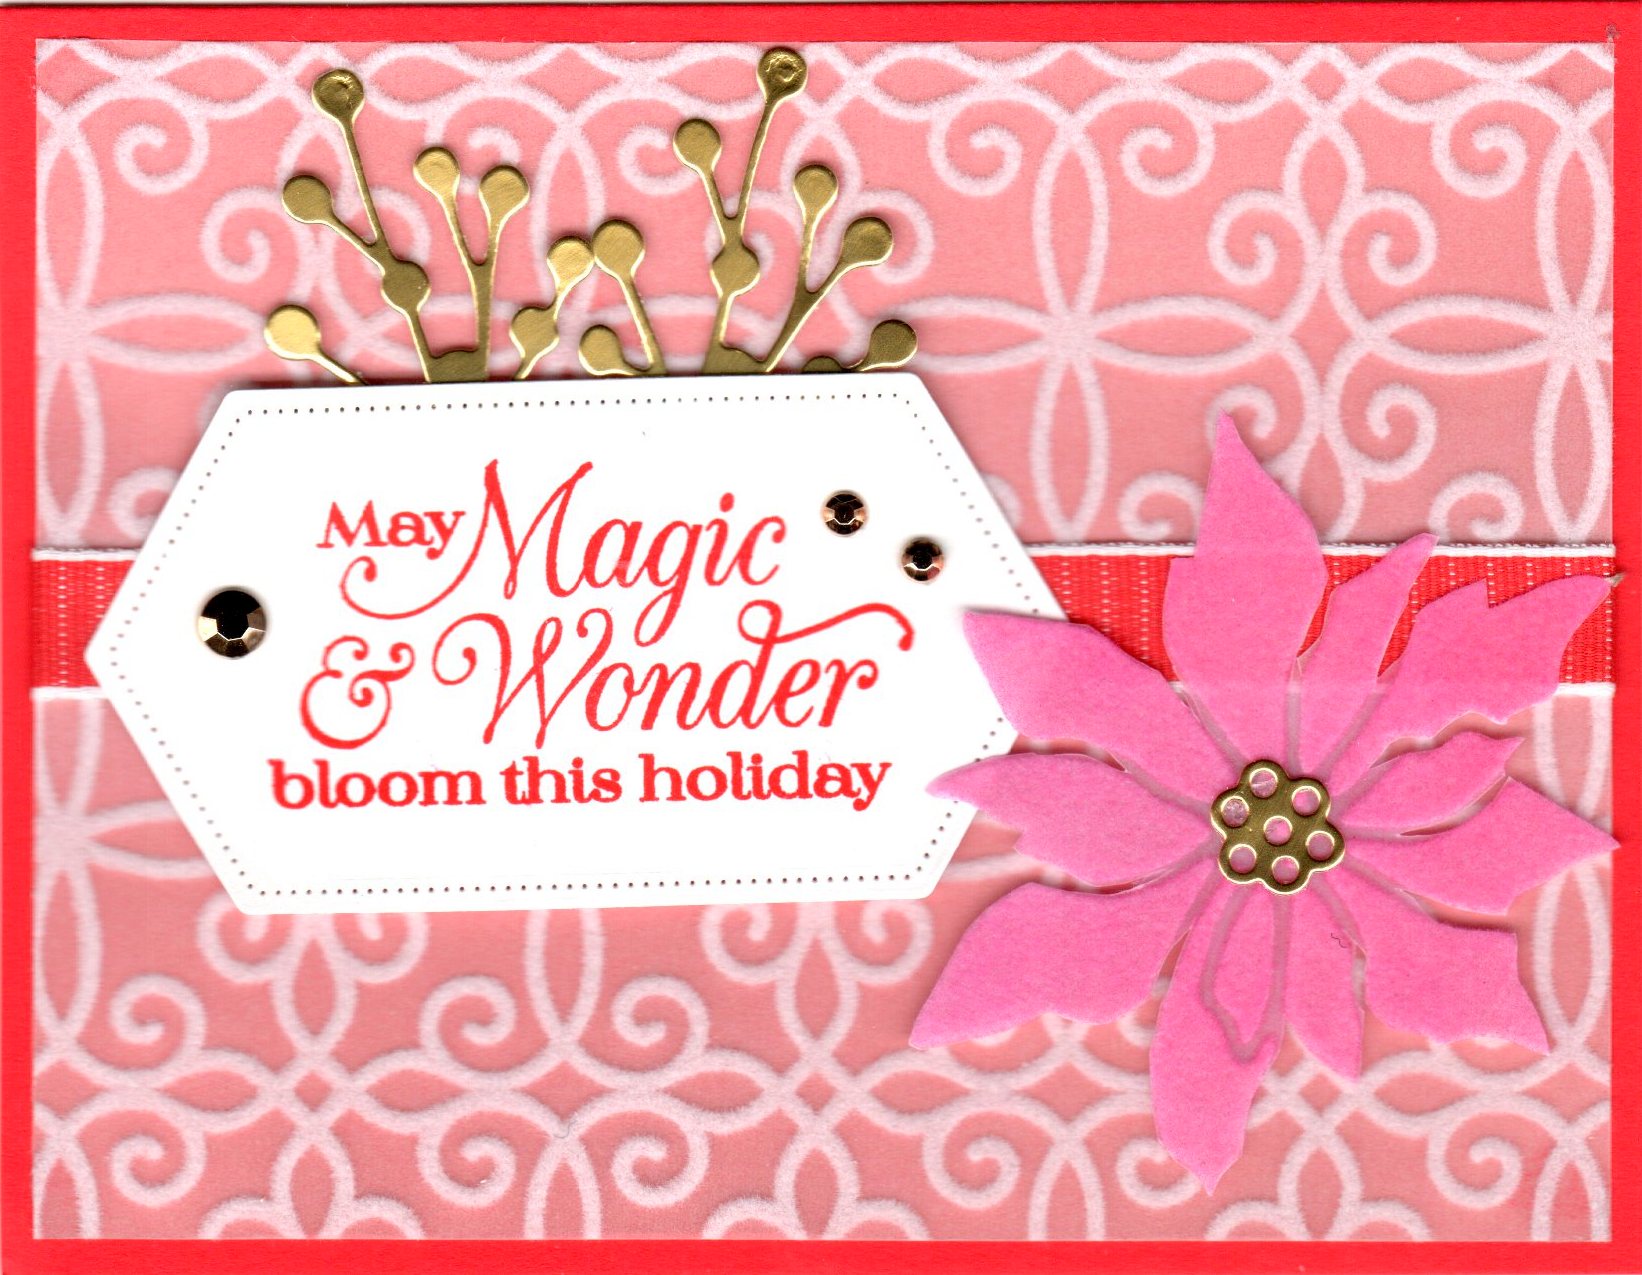
Cut a piece of Whisper White 4" x 3½" and Stamp Greeting
Using the Stitched Nested Label die, run your greeting thru the Stampin' Cut & Emboss Machine
Add Dimensionals to the back and adhere to the card
Cut a section of the Plush Poinsettia Specialty Paper containing a Poinsettia

Fussy cut the poinsettia, add a dimensional to the back and adhere to the card

Using a scrap of Gold Foil, die cut 2 flower sprays and the poinsettia center buds
Using glue dots adhere the flower sprays behind the greeting
and the flower buds to the poinsettia
Add Gilded Gems to put the final embellishments on the cad.
Hope you enjoyed this tutorial!
Click on the names below to visit the other team member's blogs and
see what amazing projects they have created to inspire you!
Please feel free to leave me a comment and thanks for stopping by.
see what amazing projects they have created to inspire you!
Please feel free to leave me a comment and thanks for stopping by.
Bonnie Mountford
Kim Thompson
Diana Buckingham (You are here)
Kim Thompson
Diana Buckingham (You are here)
Love it Diana! That paper is so beautiful and I love how you colored it!
ReplyDeleteThank you!
DeleteBeautiful Diana! The textures of the plush paper are fantastic & I love the tutorial for using the new blending brushes to color it.
ReplyDeleteThis was the first card I made with the Plush Poinsettia Specialty Paper and the new Blending Brushes and I love them both.
DeleteBeautiful card!
ReplyDeleteThank you!
DeleteLove your card Diane...plush paper is so pretty and I love your fussy cutting!
ReplyDeleteThank you!
DeleteLove your card
ReplyDeleteThank you!
Delete