

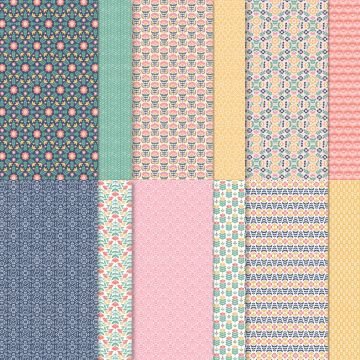
Our theme this month is focused on Designer Series Paper.
The special during the month of July is 15% off selected Designer Series Papers.


$17.85
$21.00
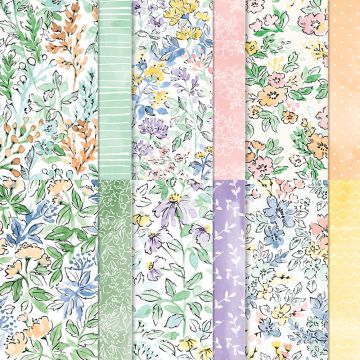
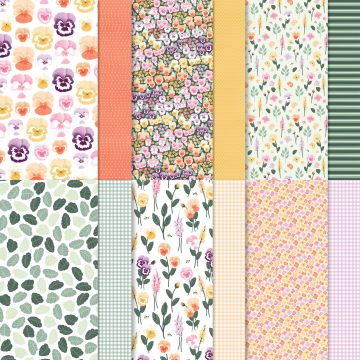
For this project i am using the Pansy Patch Suite Collection.
This can be purchased as a suite which includes
Pansy Patch Stamp Set, Pansy Dies, Pansy Petals DSP and Bumblebee trinkets.

HERE ARE THE SUPPLIES FROM THIS KIT I USED TO MAKE THESE CARD.
Blackberry Bliss Cardstock - 133675
Basic White Cardstock - 159276
Pansy Petals Designer Series Paper - 155807
Pansy Patch Stamp Set - 154999
Pansy Dies - 15568
Pansy Patch Bundle - 155674
Blackberry Bliss Classic Stampin' Pad - 147092
Bumblebee Classic Stampin' Pad - 153116
Sponge Daubers - 133773
Just Jade & Gold ⅜" Braided Ribbon - 155815
Stampin Cut & Emboss Machine - 149653
Clear Block D - 118485
Stampin' Seal - 152813
Stampin' Dimensionals - 104430
Tombow Multipurpose Liquid Glue - 110755
Paper Snips - 103579
Take Your Pick Tool - 144107
Bone Folder - 102300
Paper Trimmer –152392
Simply Shammy –147042
Silicone Craft Sheet –127853
Heat Tool - 129053
HERE ARE THE INSTRUCTIONS I USED TO MAKE THIS PROJECT
In this tutorial the
name Seal is referring to the use of the new Stampin' Seal
- Cut a piece of Blackberry Cardstock 8½” x5½"
- Cut a piece of Basic White 5¼" x 4"
- Cut a piece of Designer Series Paper 1¾" x 4
- Stamp greeting in the upper right corner of the Basic White piece

- Cut a piece of Basic White 8½ x 4"
- Die cut Pansy Pieces

- Using the Sponge Dauber, sponge the edge on all embossed pieces with Blackberry Bliss
- Sponge the layered edge pieces with Blackberry Bliss
- Sponge the centers with Bumblebee
- Sponge the pansy to your taste

- Add a dimensional to the tiny centered U piece exposing the circle
- Sponge the tiny circle with Bumblebee and add to the center of the U piece sticking to the dimensional

- Sponge the other pansy to your choice and add on the inside of the card

- Add dimensionals to the back of the pansy and adhere to the card


Hope you enjoyed this tutorial!
Click on the names below to visit the other team member's blogs and
see what amazing projects they have created to inspire you!
Please feel free to leave me a comment and thanks for stopping by.
see what amazing projects they have created to inspire you!
Please feel free to leave me a comment and thanks for stopping by.
Diana Buckingham (You are here)
Very pretty Pansy & a great tutorial!
ReplyDeleteThank You, This was fun to work with!
DeleteLove the pansy - and the whole card! Some of my favorite color combinations here!! Great job Diana!
ReplyDeleteThank you! These are some of my favorite colors too!
DeleteGreat Job Diana! Love the Pansy bundle.
ReplyDelete